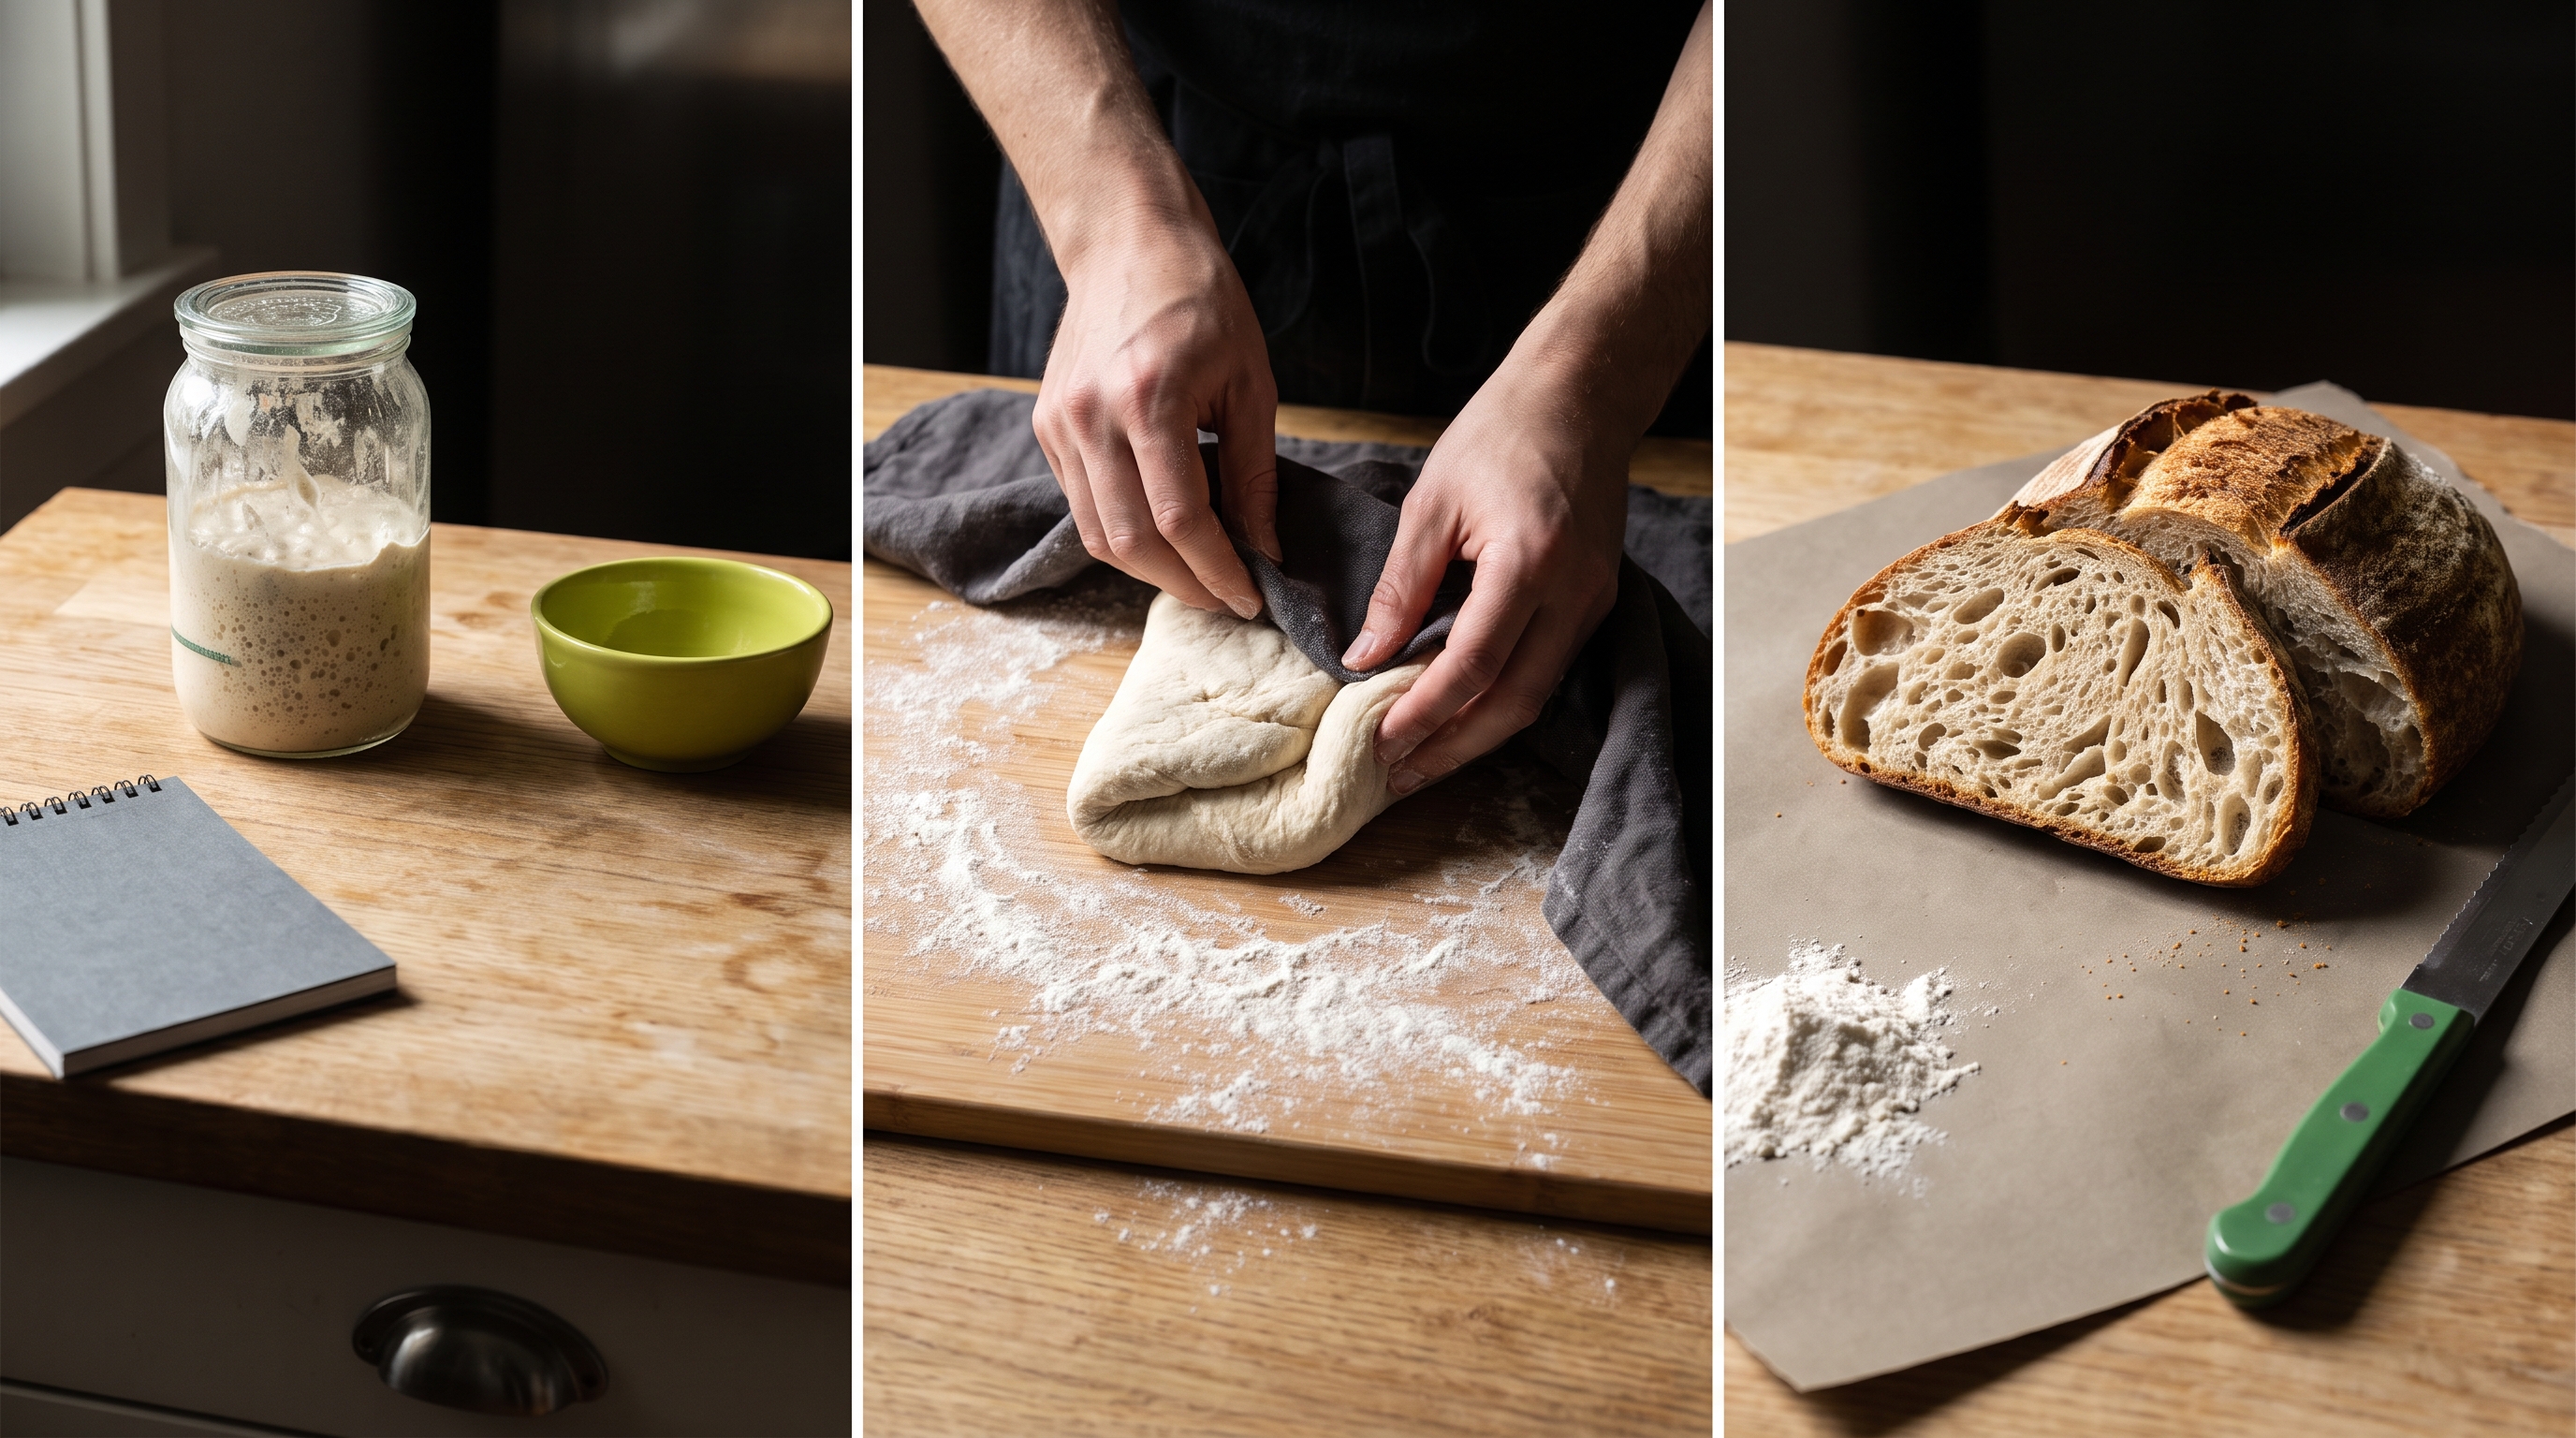
Feeding sourdough starter comes down to two things: a consistent ratio and a schedule that matches how often you bake. Mix roughly equal parts by weight of starter, flour, and lukewarm water, then decide whether it lives on your counter or in the fridge. Counter starters need feeding about once a day. Fridge starters can go about a week between feedings. That’s the whole system. The details are just about doing it consistently and reading what your starter is telling you.
What Feeding Actually Does
A sourdough starter is a live culture of wild yeast and bacteria, held in a mix of flour and water. Left alone, it eventually eats through all the available starch and sugar in the flour, and the population starts to starve.
Feeding it means giving that culture fresh food, in the form of more flour and water, on a schedule regular enough that it never runs out. That’s it. There’s no trick to it beyond consistency.
When you feed a starter, you’re also usually discarding some of it first. That keeps the total volume manageable and keeps the ratio of fresh flour to already-fermented starter in a range where the yeast and bacteria can recover and build strength again before the next feed.
The Basic Feeding Ratio
A common starting ratio is equal parts by weight: starter, flour, and lukewarm water in roughly a 1:1:1 ratio. King Arthur Baking’s recipe for feeding and maintaining a sourdough starter uses this same equal-parts approach, with 50g of starter, flour, and water as its example amounts. Plenty of home bakers use a round number like that, especially when they’re maintaining a smaller starter or trying to cut down on discard. The equal-parts principle is what matters, not the specific gram number you land on.
A few things worth knowing about this ratio:
- Weigh it, don’t eyeball it. Starter volume changes depending on how bubbly it is and whether you’ve stirred it down first, so a kitchen scale gives you a far more consistent result than scooping with a measuring cup.
- You can scale the amounts up or down. If you bake often and want more starter on hand, feed with larger equal amounts. The ratio matters more than the exact number.
- Lukewarm water, not hot or cold. Water that’s too hot can stress or kill the yeast; water that’s too cold just slows things down more than you want for an active feed.
Loosely cover the jar, don’t seal it
Fermentation produces carbon dioxide, and an actively feeding starter needs somewhere for that gas to go. A lid that’s screwed on airtight can let pressure build up until the jar cracks or the lid pops off, sometimes forcefully. Use a loosely set lid, a rubber band and cloth, or a jar with a built-in vent, so gas can escape without making a mess of your counter.
This 1:1:1 approach is a solid default. If you want to go deeper on adjusting ratios for your specific kitchen and schedule, Autolyse’s guide to feeding sourdough starter walks through it in more detail, and our full post on how to feed sourdough starter covers the step-by-step version.
Room Temperature or Refrigerator: Pick One Schedule
There are two workable ways to keep a starter alive, and the right one depends entirely on how often you actually bake. A starter that gets fed and used often does best living on the counter. One you bake with less often is better off slowed down in the fridge. That basic split shows up across baking guides and forums, including The Clever Carrot’s tips on feeding starters, which is a useful read if you want another baker’s take on the day-to-day routine.
Feeding daily at room temperature
If you bake multiple times a week, keep your starter out on the counter and feed it about once a day. Once-a-day feeding is a reasonable default for a room-temperature starter, since the yeast and bacteria in it are most active in a comfortably warm kitchen, ideally somewhere around 75°F or a bit warmer, and they’ll reward you with a starter that’s reliably bubbly and ready to use.
The tradeoff is that daily feeding means more discard and more flour used over time than a weekly fridge routine. For a frequent baker, that’s a fair trade for a starter you can rely on.
Weekly feeding in the fridge
If you bake less often, the refrigerator is the better home for your starter. Cold temperatures slow the culture way down, so it can go roughly a week between feedings instead of daily.
The catch: a fridge starter needs to wake back up before it’s ready to leaven bread. Plan on pulling it out and giving it a few feedings at room temperature first, until it’s reliably bubbly and rising again before you build a dough with it.
Neither schedule is “more correct” than the other. They’re just suited to different baking habits, and you can switch between them as your baking frequency changes.
Guessing at peak timing gets old fast. Autolyse reads your starter's rise as a live curve and predicts the peak from your actual kitchen temperature.
Get Autolyse →How to Tell If Your Starter Actually Needs Feeding
A starter tells you what it needs if you watch it. Between feedings, you’re looking for:
- A rise, then a fall. An active starter puffs up after feeding, peaks, then domes down or gets soupy on top. That fall is a sign it’s used up its food and wants more.
- Bubbles throughout, not just on the surface. A healthy fed starter should look aerated all the way through, not just foamy on top.
- A pleasant sour, yeasty smell. Sharp and tangy is normal. A harsh, unpleasant, or acetone-like smell can mean it’s very hungry and overdue for a feed.
One thing worth being clear about: how long it takes your starter to rise and fall depends heavily on your kitchen’s temperature, not a fixed number of hours. A starter in a cool kitchen can take considerably longer to peak than one in a warm kitchen, and that’s not a sign anything is wrong. Judging your starter against a fixed clock instead of what it’s doing is one of the more common ways bakers convince themselves a healthy starter is failing. If your starter seems sluggish and you’re not sure whether it’s a temperature issue or an actual problem, our post on sourdough starter not rising walks through how to tell the difference.
🌡️ Autolyse predicts your starter's peak from your kitchen temperature — free, on every tier. No more guessing off a generic 12-hour rule.
Try Autolyse →This is also exactly the kind of guesswork that gets easier with a tool built around your kitchen’s actual conditions rather than a generic schedule. Autolyse tracks your starter’s feedings and uses your kitchen temperature to predict when it will actually peak, instead of asking you to guess based on the clock on the wall.
Signs Your Starter Needs More Than a Feeding
Regular feeding prevents most problems, but it’s worth knowing what a genuinely unhealthy starter looks like so you don’t mistake it for a normal slow day. Neglecting feedings, particularly in a starter’s first week or two, is one of the more common ways home bakers accidentally kill a starter that was otherwise perfectly fine, a pattern echoed in roundups of common sourdough mistakes like the one on You Knead Sourdough’s blog. Worth noting up front: that kind of baking-blog advice is useful for everyday troubleshooting, but it isn’t a substitute for official food-safety guidance, especially for the mold and discoloration questions below.
It’s gone quiet
A starter that stops responding to feedings, no rise, no bubbles, no real activity, after being neglected for a stretch can go inactive. This risk is highest in the first week or two after you first create a starter, before the culture is fully established; it’s not unusual for a brand-new starter to hit a quiet stretch a few days in before it picks back up, so don’t panic at the first sign of sluggishness. The fix is usually just getting back on a consistent feeding schedule and giving it a comfortably warm spot to work in. Yeast doesn’t tolerate high heat either. It’s commonly understood to die off well below boiling, somewhere in the range of 130 to 140°F (55 to 60°C), so a spot near an oven vent or on top of a running appliance can do real damage.
It shows mold or unusual color
This is the one place where the fix isn’t patience, it’s a fresh start, and it’s the one place in this guide where I’d point you past baking blogs (including mine) toward actual food-safety guidance rather than folk wisdom. The general, widely accepted food-safety principle for any fermented food is straightforward: visible mold means the batch gets discarded, not scraped off and reused. Mold can send microscopic threads down into a starter well past what you can see on the surface, so trimming off the visible part doesn’t make the rest safe.
A pink, orange, or black tinge on the starter itself is the other real warning sign. It’s tempting to write off unusual color as harmless staining from the flour, but discoloration like that can signal contamination by bacteria you don’t want to eat, not just cosmetics. When in doubt, don’t taste it and don’t bake with it. Toss it and start a new culture.
Before you start that new culture, wash the jar, lid, and any utensils that touched the old starter in hot soapy water, and let them dry fully. Mold spores and stray residue can cling to the container, and starting a fresh culture in an unwashed jar risks contaminating it right from day one.
If you’ve already baked with or eaten a starter that turned out to be moldy or discolored and didn’t realize it at the time, don’t panic, but pay attention to how you feel. If you develop symptoms like digestive upset that doesn’t resolve on its own, check in with a doctor or your local health authority rather than waiting it out. This is genuinely a “when in doubt, throw it out” situation, and it’s worth treating with more caution than any single baking blog’s advice, including this one.
Gray or brown liquid pooling on top is a different thing entirely, and it’s not a safety concern. That’s hooch, and it just means your starter is hungry and overdue for a feeding. Stir it back in or pour it off, then feed as usual. Don’t confuse that ordinary liquid with actual black, pink, or orange discoloration of the starter itself, that’s the kind of color change that means starting over, not stirring in.
A Simple Feeding Routine to Settle Into
If you’re not sure where to start, here’s a routine that reflects common, well-tested practice for both counter and fridge storage:
- Pick your schedule based on how often you bake. Daily on the counter if you bake several times a week, weekly in the fridge if you don’t.
- Feed in equal parts by weight. Something like 50g starter, 50g flour, 50g lukewarm water, adjusted up if you want more on hand.
- Discard before you feed, not after, so the ratio of fresh food to mature culture stays balanced.
- Watch the rise and fall, not the clock. Let your kitchen’s actual temperature set the pace, especially in the first couple of weeks with a new starter.
- Reserve a few feedings at room temperature before baking if your starter has been living in the fridge.
- Keep the lid loose, not airtight. Fermentation gas needs somewhere to go, so a loosely fitted lid, cloth cover, or vented jar is the safer choice.
None of this requires special equipment. A jar, a scale, and flour and water are enough. You don’t need a stand mixer or a bread machine to keep a starter healthy or to bake with it; that’s a separate question from starter care entirely.
Frequently Asked Questions
How much flour and water do I feed my starter? A common approach is equal parts by weight, in a 1:1:1 ratio. Some bakers use a round number like 50g of each. Weighing with a scale is far more consistent than measuring by volume.
Should I feed my starter every day? Yes, about once a day is a reasonable default if you keep it at room temperature, since it works through its available food much faster in a warm kitchen than it does in the fridge. A fridge-stored starter only needs feeding about once a week.
Can I keep my starter in the fridge instead of feeding it daily? Yes. Cold temperatures slow the culture down enough that weekly feeding works. Just give it a few room-temperature feedings to wake it up again before you bake with it.
What does it mean when my starter isn’t responding to feedings anymore? It may have gone inactive, which is more common in the first week or two after creating a new starter, while the culture is still getting established. Getting back on a consistent schedule, in a comfortably warm spot, is usually the fix.
Is mold or discoloration on my starter ever okay to just stir in? No. Mold, or a pink, orange, or black tinge on the starter itself, means it should be discarded and not stirred in or scraped off. Wash the jar and utensils first so no spores or residue carry over into the new culture. Gray or brown liquid on top is different, that’s just hooch from hunger, and you can stir it back in or pour it off before feeding.
Do I need to discard starter every time I feed it? Discarding first keeps the starter’s volume in check and keeps the fresh-flour-to-culture ratio balanced. If you bake often, that discard doesn’t have to go to waste; it can go straight into your next dough.
Track Your Starter With Autolyse
Feeding on a fixed schedule is a fine starting point, but the actual moment your starter is ready to bake with depends on your kitchen’s temperature, not the clock. Autolyse tracks your feedings and predicts peak activity based on your real kitchen conditions, whether you’re on a daily counter routine or a weekly fridge schedule, so you can stop guessing and start baking when your starter is at its best. It’s free to use for one starter with full peak prediction and bake tracking built in.