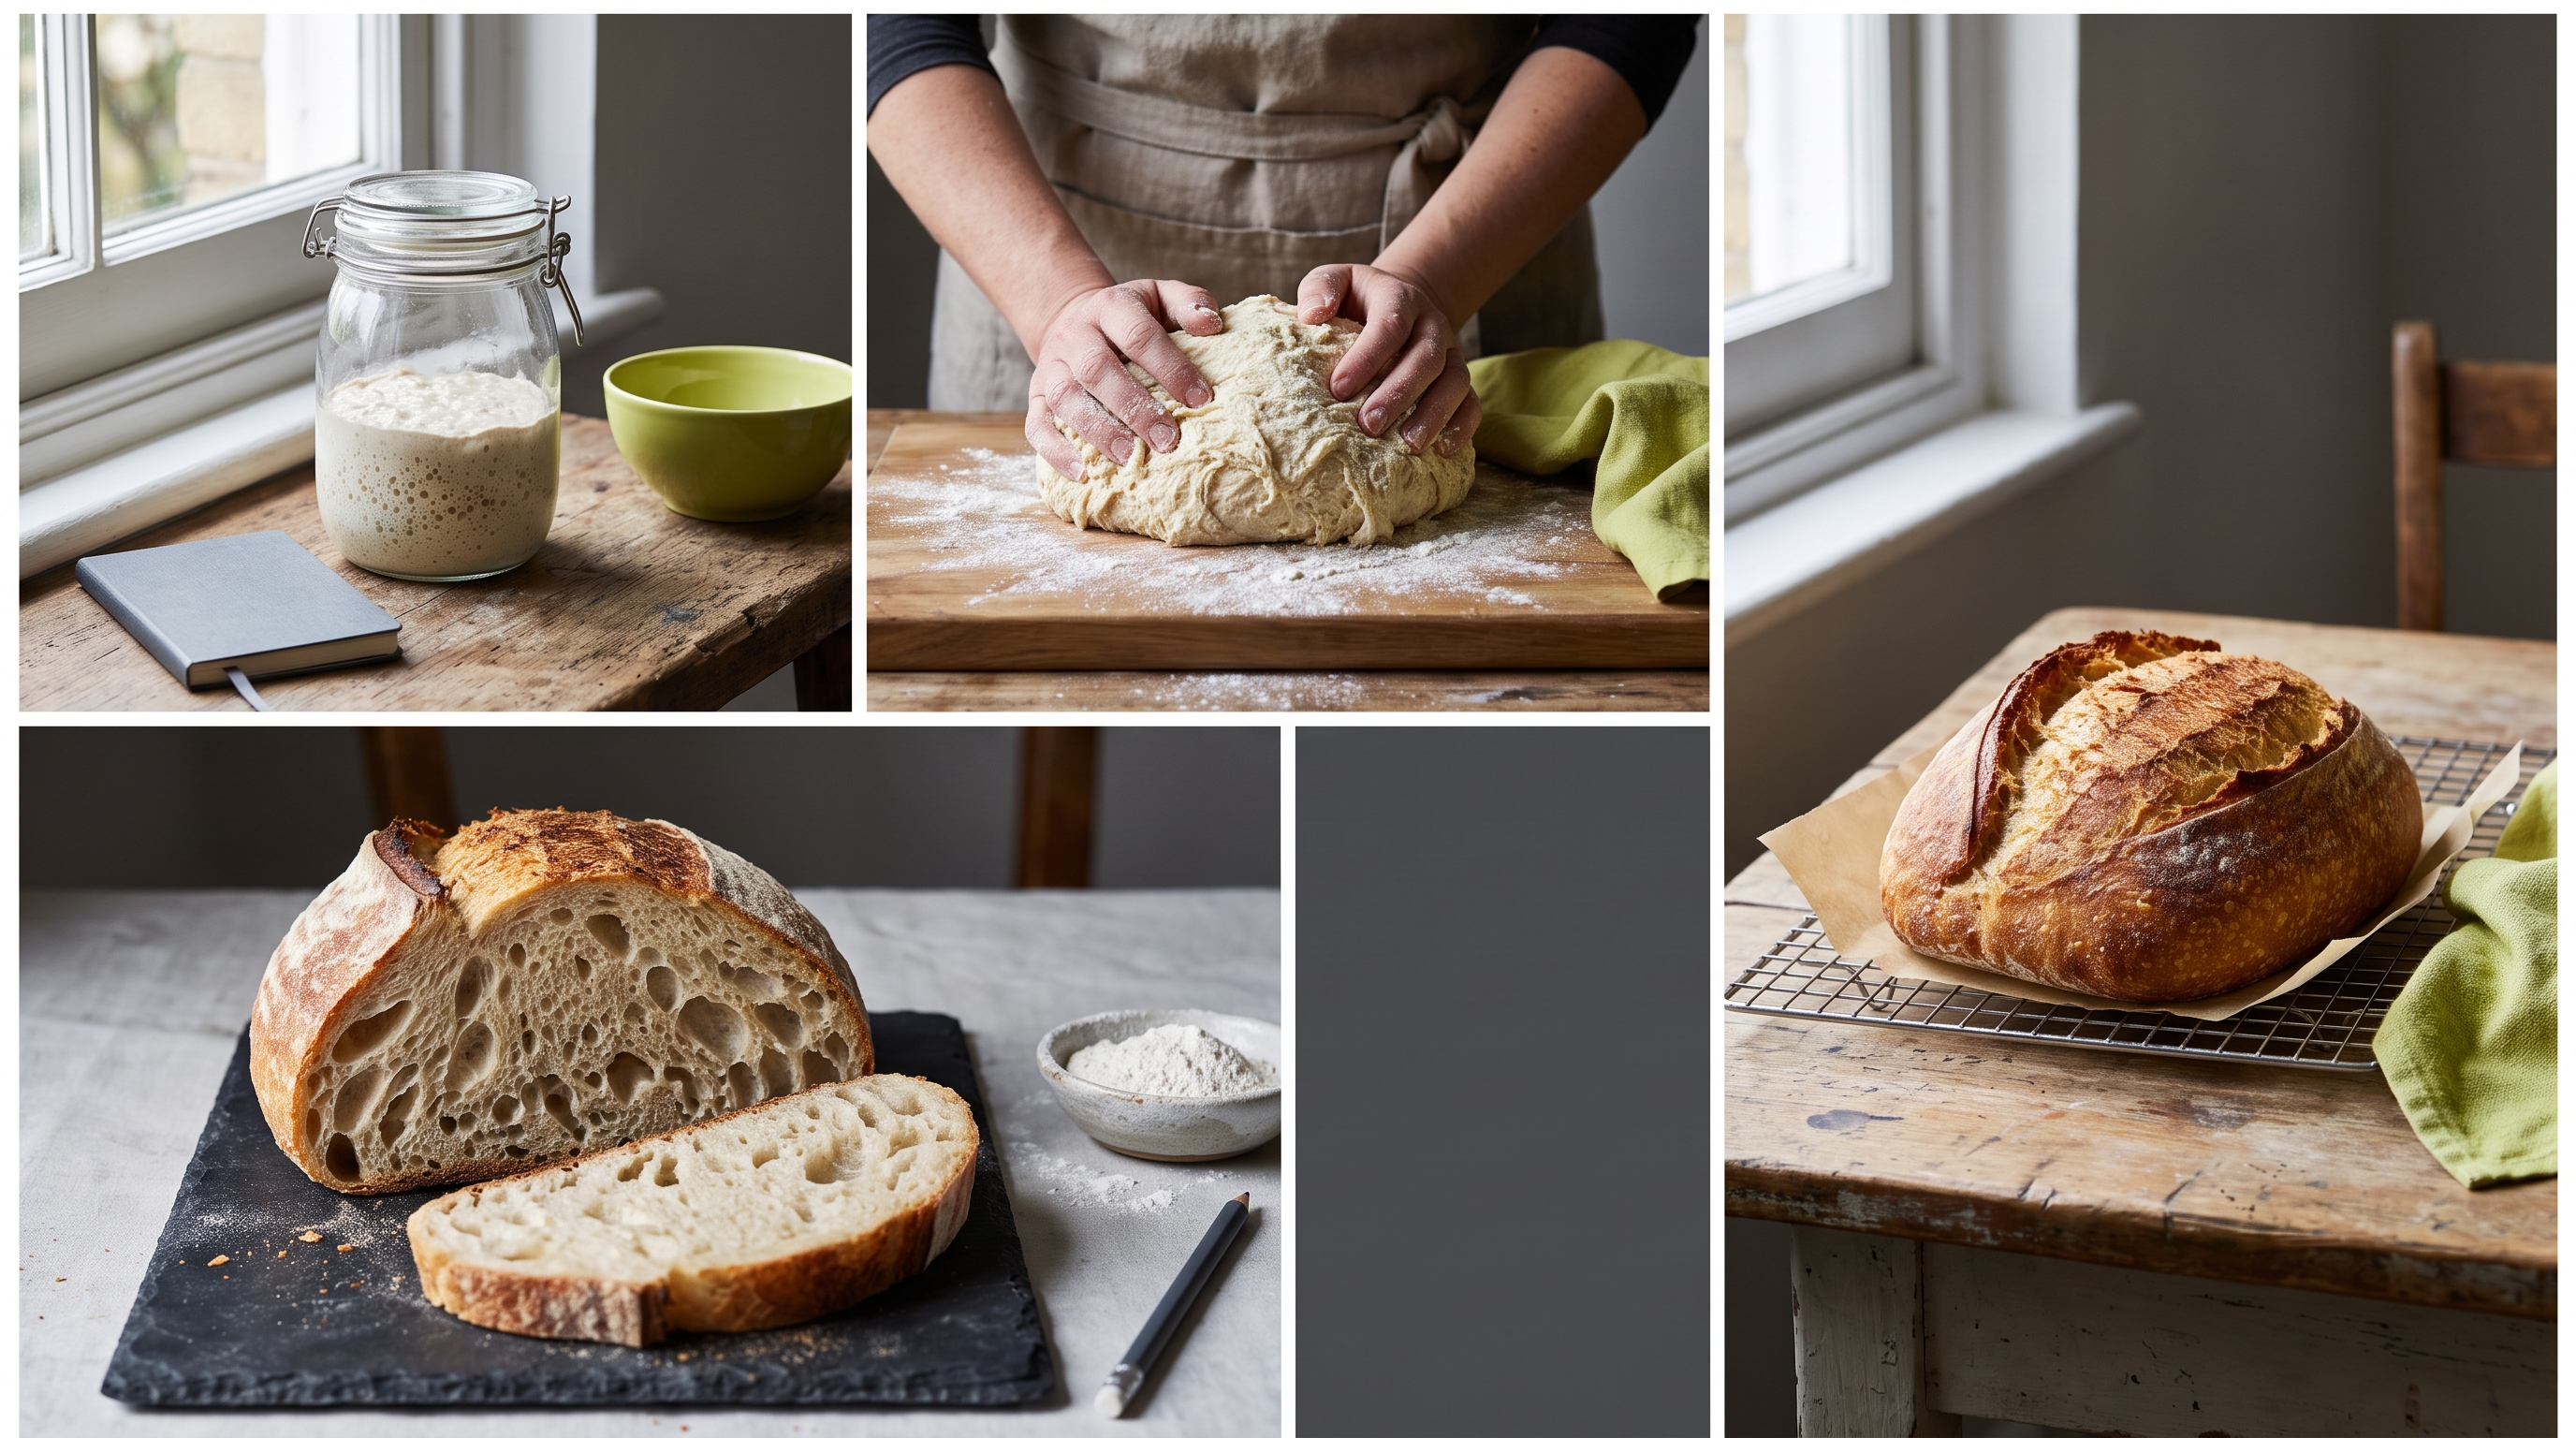
So you want to know how to make sourdough starter from scratch? Here’s the direct answer: mix roughly equal parts flour and water by weight in a clean jar, then once a day, discard about half of it and stir in fresh flour and water to feed what’s left. Keep it loosely covered somewhere warm, and wait. In about 6 to 8 days, you’ll have a bubbly, active starter strong enough to leaven bread. There’s no packet of yeast involved and no special equipment required, and there’s no way to rush it. Here’s what happens during that week, and why the timeline bends around your kitchen’s temperature instead of a fixed number of days.
What Is a Sourdough Starter, Really?
A sourdough starter is a live, fermented culture of flour and water. It’s home to wild yeast and bacteria that occur naturally, in your flour, in the air, even on your hands. You can’t see them, but they’re there and already working.
When you mix flour and water and let the mixture sit, those wild organisms start to feed on the starches and sugars in the flour. As they multiply, they produce carbon dioxide, which makes the starter rise and bubble. A small portion of this active culture, added to bread dough, is what makes the loaf rise. You don’t need commercial yeast.
It sounds a little strange the first time you hear it. Flour and water, just sitting on a counter, turning into something alive. But that’s genuinely what’s happening. It’s fermentation, not magic, even if it feels that way the first time your jar of paste turns into a dome of bubbles.
If you’d rather skip the week-long wait entirely, Alexandra Cooks makes a case for buying an established starter instead of building one yourself: it’s usually inexpensive (or free from a friend), and it saves you the early, unpredictable days. But building your own from scratch is genuinely satisfying, and it’s what the rest of this guide walks through.
What You Need to Get Started
You don’t need much to build a starter:
- Flour. Most bakers start with all-purpose or a bread flour, sometimes with rye flour mixed in or used entirely for the first few days.
- Water. Plain, unchlorinated water works best if your tap water is heavily chlorinated; otherwise regular tap water is fine.
- A clean jar. Something with room to grow, since an established starter can rise substantially after a feeding. Wash it well before your first mix, and use a clean spoon each time you feed. The culture is still establishing itself in the early days, and keeping things clean helps keep unwanted bacteria from getting a foothold while it does.
- Patience. This is the ingredient people underestimate. A starter can’t be forced along faster than fermentation allows.
You won’t need a stand mixer, a bread machine, or any specialty tools. This is a hand-and-jar project from start to finish.
The Basic Method: Mix, Discard, Feed, Repeat
Here’s the actual mechanic underneath all the waiting.
On day one, stir together roughly equal parts flour and water by weight until you get a thick, pasty batter. Cover it loosely (it needs airflow, not an airtight seal) and let it sit somewhere warm.
From there, once a day, you discard a portion of the mixture, roughly half, and feed what remains with fresh flour and water in that same rough ratio. Discarding matters because it keeps the population of yeast and bacteria from outgrowing its food supply and starving itself. Feeding matters because it gives the culture new starch to keep fermenting.
Repeat that daily rhythm for about a week, and you’ll watch the mixture go from flat and quiet to bubbly and rising. For the exact flour-to-water measurements and daily feeding amounts that fit your kitchen and the flour you’re using, lean on a full recipe like the ones from The Perfect Loaf or The Clever Carrot. This guide focuses on why each stage happens the way it does, so the numbers in whatever recipe you follow actually make sense.
How Long Does It Take to Make a Sourdough Starter?
Plan on 6 to 8 days for a new starter to become reliably active, though it can take longer depending on your kitchen. The Clever Carrot puts it at 7-plus days. Janie’s Mill estimates 6 to 8 days for a mature, active culture. Neither is wrong. It genuinely depends on your environment.
That range surprises a lot of beginners who expect a starter to be done in two or three days. It won’t be. The first couple of days often look like nothing is happening at all, and that’s part of the process, not a sign you did something wrong.
Guessing at peak timing gets old fast. Autolyse reads your starter's rise as a live curve and predicts the peak from your actual kitchen temperature.
Get Autolyse →What to Expect As It Ferments
Your starter won’t move in a straight line from flat to bubbly, and it won’t follow the exact same script every kitchen or every flour.
In the early days, don’t be surprised if it looks like almost nothing is happening beyond a few small bubbles. The wild yeast and bacteria are just getting established. That quiet stretch is normal, not a sign you’ve done something wrong.
Somewhere in the middle of the week, the smell can turn sharper or more pungent than you expect. That’s a normal part of the culture finding its balance, and for most starters it passes as fermentation continues. You may also notice a thin layer of liquid pooling on top during a sluggish stretch. That’s hooch, a sign the starter is hungry, and it’s harmless. More on that below.
By the time you’re seeing bubbles throughout the jar, a reliable rise after each feeding, and a smell that’s turned pleasantly sour instead of sharp, your starter is settling into the kind of consistent activity that both Janie’s Mill and The Clever Carrot describe as a sign the culture has matured. Some starters reach that point on the earlier end of the range, others need the full stretch or a bit more, especially in a cooler kitchen. Both are normal outcomes, not a sign of a failed starter.
Choosing Your Flour
Flour choice affects how fast things get moving. According to Janie’s Mill, rye flour has a naturally higher sugar content, which tends to get a new starter going faster than an all-purpose or artisan blend. Their testing found both flours worked well, but the rye starter got going a bit quicker.
A common approach: use rye flour (or a portion of it) to kick things off, then switch to an all-purpose or artisan blend flour for your routine feedings once the starter is established. You can also keep a small amount of rye on hand to give a sluggish starter an energy boost before a bake. There’s no requirement to use exotic or specialty flour. Whatever you have on hand, fed consistently, will work.
Why Temperature Matters More Than the Clock
Here’s the part that trips up more beginners than anything else: a sourdough starter doesn’t run on a schedule. It runs on temperature.
Wild yeast and bacteria are living organisms, and like most living things, their activity speeds up in warmth and slows down in the cold. King Arthur Baking’s own guidance on starter care makes this same point: a starter’s rise time shifts with the temperature of the room it’s kept in, not with the calendar. That’s true on day 2 of building a starter, and it’s still true years later when you’re feeding an established one. The Clever Carrot recommends a warm spot, ideally 75°F or higher, for a starter to rise well, and that same logic applies while you’re building one from scratch. A starter sitting in a cooler kitchen, a chilly pantry, or a drafty counter is going to move noticeably slower than one sitting in a warm spot near that mark. Neither one is broken. They’re just fermenting at different speeds because the room around them is different.
This is exactly why generic advice like “your starter should double in 4 to 6 hours” or “feed every 12 hours no matter what” falls apart in real kitchens. That advice assumes a specific, warm temperature that your kitchen may not be. A starter in a cooler room might take noticeably longer to peak than one kept somewhere warm, and that’s not a symptom of a weak or failing culture. It’s just fermentation responding to its environment, the same way it always does.
🌡️ Autolyse predicts your starter's peak from your kitchen temperature — free, on every tier. No more guessing off a generic 12-hour rule.
Try Autolyse →This is the exact problem Autolyse was built to solve. Instead of feeding your starter on a fixed clock, Autolyse predicts when your starter will peak based on your kitchen’s real temperature, so you feed and bake according to what your starter is doing, instead of guessing.
Keeping It Safe While It Ferments
A couple of safety habits matter more than people expect during this first week.
Stick with a clean jar and clean utensils every time you feed the mixture. The culture hasn’t stabilized yet, so it’s more vulnerable to unwanted bacteria getting a foothold than an established starter is.
Skip the taste test while it’s still raw. There’s no need to eat it to know how it’s coming along. Judge it by smell, bubbles, and rise instead, and save any tasting for after it’s baked into bread.
Don’t panic over a thin layer of liquid sitting on top of your starter, even if that liquid looks dark or grayish. That’s hooch, and it’s just a sign your starter got hungry between feedings. It’s a normal byproduct, not a red flag. Pour it off or stir it back in, then get back to your regular feeding routine.
What’s genuinely a problem is different: fuzzy mold growth, which can appear black, green, pink, or white, or streaks of pink or orange discoloration that aren’t liquid at all. Neither of those is harmless pigment from the flour. This isn’t just baking-blog caution: general food-safety guidance for home-fermented foods, including USDA consumer guidance on mold in food, is consistent that visible mold on a ferment means the whole batch gets discarded, not scraped and salvaged, because mold can send threads and contaminants down into a soft, moist mixture well past what you can see on the surface. Pink or orange discoloration is treated the same way, as a sign of bacterial contamination rather than a cosmetic quirk. If you see either one in your starter, don’t taste it to check and don’t scrape it off and keep going. Discard the whole starter and start fresh instead.
Signs Your Starter Is Ready to Bake With
Once your starter is established, look for these signs before you use it in a dough:
- It rises predictably after a feeding, growing to somewhere near double its size.
- It’s full of bubbles, both on the surface and throughout the body of the starter.
- It smells pleasantly sour, not sharp or boozy, judged by smell rather than taste.
If your starter is doing these things consistently, day after day, it’s ready to leaven bread.
Common Mistakes That Slow Down (or Ruin) a New Starter
A few misconceptions cause most of the frustration beginners run into.
- Expecting it to double in exactly 4 to 6 hours. That number assumes a specific, warm temperature, somewhere around 75°F or higher. In a cooler kitchen, doubling can easily take much longer, and that’s not failure. It’s just a slower fermentation pace.
- Panicking over hooch. That dark or grayish liquid on top, even when it looks black, just means the starter is hungry. Pour it off or stir it in and feed as usual. It’s not a reason to start over.
- Scraping off mold and continuing to use the starter. If you see actual fuzzy mold, in any color, discard the whole starter and begin again. Food-safety guidance on mold in ferments is unambiguous here: trying to salvage it isn’t worth the risk.
- Ignoring pink or orange streaks that aren’t hooch. This isn’t harmless food coloring from the flour. It’s a real warning sign. When you see it, discard the starter and start fresh rather than trying to fix it.
- Giving up during the sour or sharp-smelling stage. A stretch of unpleasant smell partway through the week is a normal, temporary phase for most starters, not a sign of failure.
- Refrigerating it too soon. A new starter needs to stay at room temperature while it’s building strength. Refrigeration is for maintenance later, once the starter has shown steady, reliable activity for several days running.
What to Do Once Your Starter Is Active
Getting a starter going is only the beginning. Once it’s active, it needs regular feeding to stay strong and ready for baking. How often depends on how frequently you bake and whether you keep it at room temperature or in the fridge between uses.
If you bake several times a week, keeping your starter at room temperature and feeding it daily keeps it primed. If you bake less often, refrigerating it between feedings slows its metabolism down so you’re not wasting flour on daily feedings you don’t need. Either way, plan to feed your starter and let it rise at room temperature before you bake with it, giving it time to build back up to full strength.
For the full rundown on keeping a starter healthy long-term, including exact feeding ratios and timing, see our guides on feeding your sourdough starter and how to feed a sourdough starter. And if your starter seems stuck or sluggish after it’s established, our post on why your sourdough starter isn’t rising walks through the most common causes.
Frequently Asked Questions
How long does it take to make a sourdough starter from scratch? Most bakers see a usable starter in about 6 to 8 days, though it can run longer. There are no real shortcuts. A cool kitchen slows things down, and that’s normal, not a sign of failure.
Do I need commercial yeast or a special starter culture to begin? No. Wild yeast is already present in flour, in the air, and on your hands. Mixing flour and water and giving it time is enough to capture and grow it.
What flour works best for a new starter? Rye flour has more natural sugar, so it tends to get a new starter active a bit faster. An all-purpose or artisan blend works well too, and is what most bakers use for routine feeding once the starter is established.
Why isn’t my starter doubling every few hours like I read it should? Doubling time depends on your kitchen’s temperature, not the clock. Fermentation speeds up in warmth and slows down in the cold, so a starter in a cooler room can take noticeably longer to peak than one kept in a warm spot near 75°F, and both can be perfectly healthy.
Is the dark liquid on top of my starter a bad sign? No. That liquid is called hooch, and it just means your starter is hungry. It’s a normal byproduct, even when it looks dark or grayish. Pour it off or stir it back in, then feed as usual. It’s not the same thing as mold or the pink and orange discoloration that actually signal trouble.
What if I see fuzzy mold or pink and orange streaks in my starter? Discard the starter and start over. Food-safety guidance on fermented foods is consistent on this point: fuzzy mold, in any color, and streaks of pink or orange discoloration are both real warning signs, not flour pigment. Neither one is safe to scrape off and keep using.
Track Your Starter With Autolyse
Once your starter is active, the hardest part is knowing when it’s ready, especially as the seasons change your kitchen’s temperature. Autolyse tracks your starter’s real behavior and predicts its peak from your kitchen’s actual temperature instead of a generic schedule, so you stop guessing at feeding windows. It’s free for one starter with full peak prediction and bake tracking built in, and you can try Autolyse as soon as your new starter takes its first bubbly breath.